Part 1: Starting the work!
So let’s start this server! As I said in My previous blog post, the v.1 was running on old laptops. So the first step to switch to the new devices ( Lenovo Thinkcentre M72e Tiny, to be precise) was to start from zero, well to get rid of the default Windows installed on them.
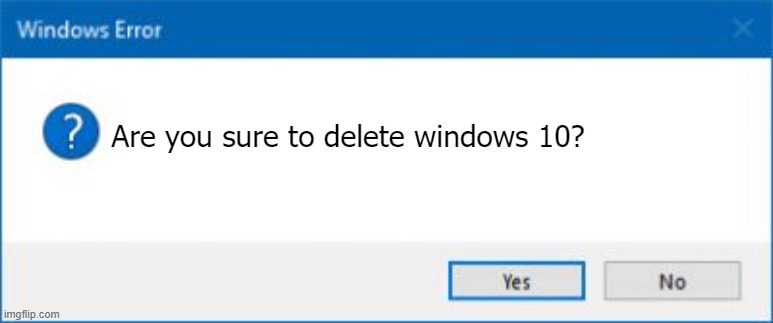 source: imgflip.com
Of course not that way. So we booted on a Ubuntu 18.04 USB stick, did the whole install process, formatted the disk, and lets go! What could go wrong? Welp. Everything When we rebooted without the USB stick, it said “No bootable device found” So the device didn’t seems to have installed Linux. Or something got corrupted in-between. Or maybe it was the UEFI/Legacy detection. So we looked back the the BIOS (American BIOS, or AMIBIOS, by the way), tried changing boot order, the boot mode (UEFI to Legacy, Legacy to UEFI). Nothing.
We tested on another device (Still a M72e Tiny) And on that one detected correctly the UEFI mode and installed it just fine. What is the difference? Why did they reacted that differently?
Well, looking back at the BIOS, we realized something important : The BIOS version/date was different on the 2 devices, the second one, the one that booted correctly, being more recent (I cant remember the exact version but the one that didn’t boot had a BIOS version of 2012 and the other one had a BIOS from 2013). I think we found our problem…
Information : Why is it important to keep BIOS firmware up-to-date? “The BIOS (Basic Input/Output System) is a fundamental piece of firmware embedded in a computer. It’s responsible for booting up the system and managing data flow between the computer’s operating system and attached devices. Over the years, BIOS has evolved from basic firmware to a more complex and integral part of computer functionality, adapting to the increasing sophistication of modern hardware and software.
Keeping one’s BIOS updated is crucial for ensuring that a computer’s hardware is fully compatible with its operating system. These updates can enhance system performance, improve hardware compatibility, fix bugs, and provide security patches. They are essential for maintaining the overall health and efficiency of a computer. BIOS updates refine the firmware that controls hardware-software interaction. They are essential for adapting the system to new technological standards and often include advanced features like secure boot in modern UEFI (Unified Extensible Firmware Interface)”
source: Ninjaone.com
Part 2: We’ve found the BIOS (And We’re Mad After Windows..)
A quick Google search showed that the latest BIOS update was from 2018. So our machines where not at the latest BIOS, and even worse : they where not all at the same update, some being from 2012 and other from 2013 BIOS revision. But there’s a little problem : primo, on the first machine, there was no more OS (Windows being wiped-out from the hard drives and Linux not booting ) and segundo there’s no Linux in the “Compatible Operating Systems” section of the BIOS update softwares from Lenovo, as I show below :
Compatible Operating Systems
Windows 7 32bit, 64bit
Windows 8 32bit, 64bit
Windows 8.1 32bit, 64bit
Windows Vista 32bit, 64bit
Windows XP 32bit, 64bit source : support.lenovo.com
Erm, only Windows/DOSes.
We still tried to boot on the given .ISO but it didn’t seems to boot (we saw it’s name in the boot manager but it just rebooted the computer without starting the installation).
Will we be forced to reinstall Windows?
The answer is : Nope
Thanks to FreeDOS.
What is FreeDOS?: According to their website, “FreeDOS is an open source DOS-compatible operating system that you can use to play classic DOS games, run legacy business software, or write new DOS programs. Any program that works on MS-DOS should also run on FreeDOS.” Source: FreeDOS.org
So basically you can just boot on that system from a live USB stick and run .exe files!
Part 3: How to update the BIOS, step by step
So we’re not doomed to use windows again. Oof…
With that card in hand, its actually pretty easy to update the firmware : grab the zip for the M72e Tiny’s latest BIOS, grab FreeDOS’s LiteUSB. Put that in a folder, whatever it is, plug an USB stick (formatted) in your Linux, make sure it’s unmounted. First, unzip the FreeDOS zip, then after checking what device is your USB key (with lsblk), do (note: replace sdb with your USB stick’s device name):
cat FD13LITE.img > /dev/sdb
After that, mount the key with the GUI. You should see the FreeDOS files correctly setup in the folder (probably mounted in /media/(your username)/(device name) if you’re on Ubuntu). If it didn’t work, you can still try to use a flashing tool like Etcher.
Next, create a directory inside the FreeDOS key. Call it “lenovo”. Unzip the firmware from the Lenovo BIOS update inside the “lenovo” dir, remove the USB stick (don’t forget to unmount it first!) and here you go!
You just plug it in the device, open the BIOS, take note of the existing BIOS version, load back the default settings, reboot, boot on the USB stick (if you have the option in the boot menu choose Legacy, else just select the USB’s name in the list).
Select ‘English’ as prefferred language when prompted, and click on “No, Return to DOS” when asked if you want to install FreeDOS :
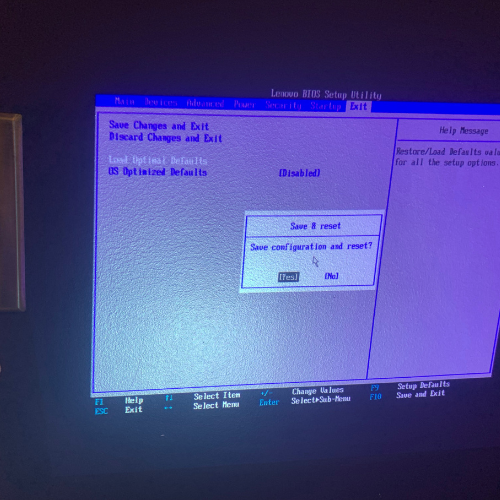
Loading defaults settings in the BIOS
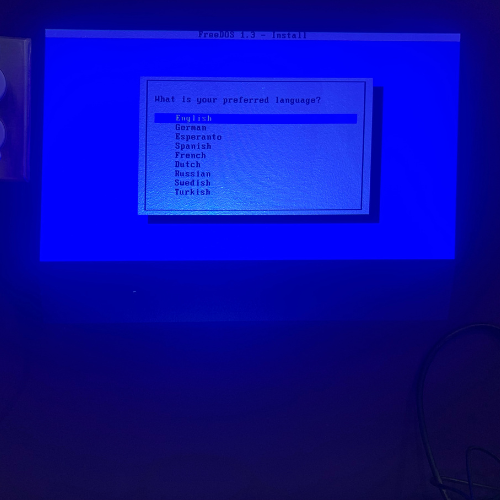
Selecting the correct language in FreeDOS
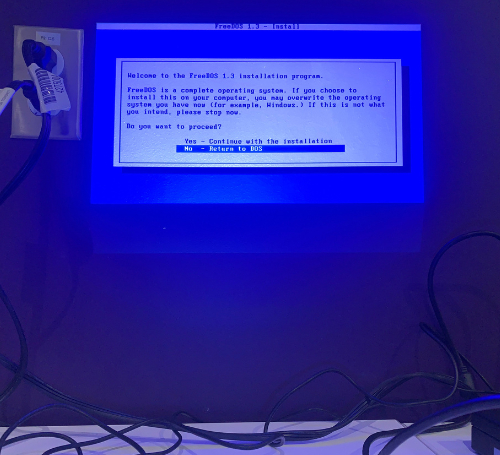
Coming back to FreeDOS and aborting the install process
The command prompt will then open. Just type the following :
cd lenovo\
autoexec.bat
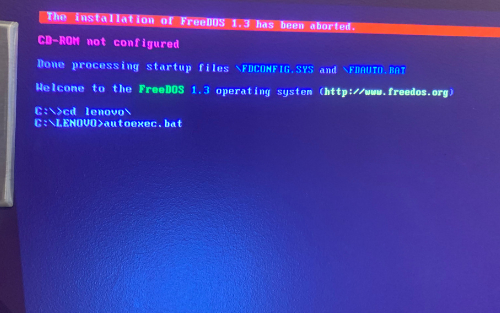
FreeDOS command prompt with the command
Here we go!
Then say ‘No’ to both “Updating Serial Number” and ‘Updating Machine Number’ prompts.
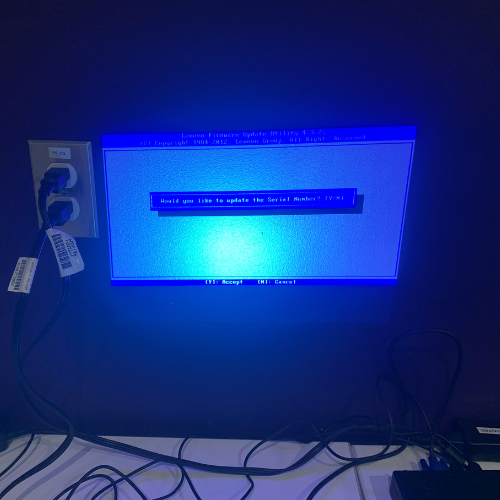
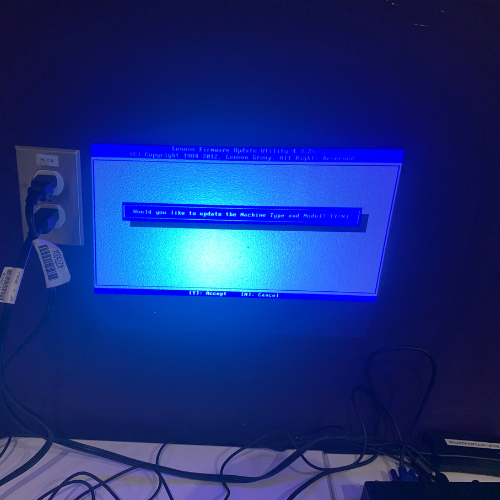
Say ‘No’ to both of the prompts
Then, you just need to wait ^^
It will reboot the computer.
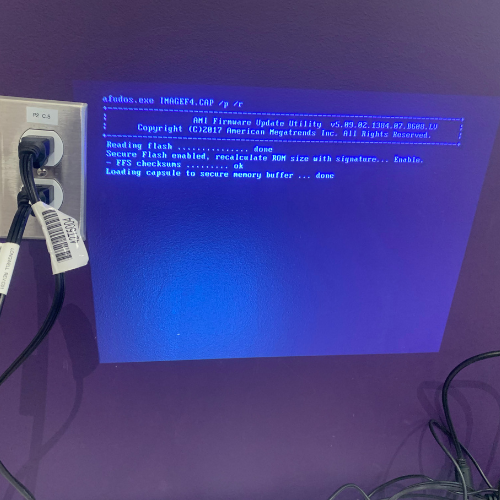
Warning: If you see that the process is stuck powered on but with no signal on the display for MORE than five minutes, remove the USB stick and press the power button. It should wake it up and finish the tasks.
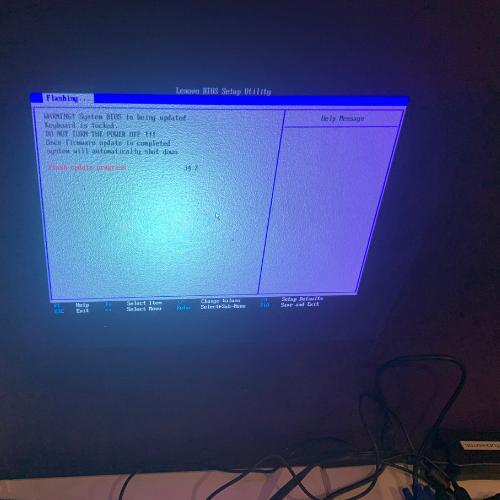
Image of the process after the system reboot
Next when its finished remove the USB stick, if you didn’t already, and you should see the BIOS version updated (you may need to reboot to access the BIOS)!
Here’s the picture of the up-to-date BIOS page :
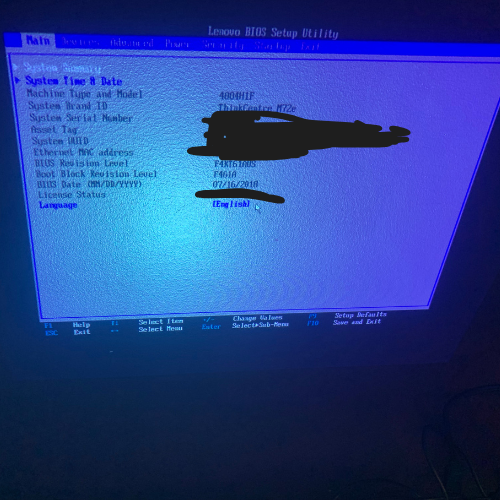
Part 4: Conclusion
Then I could finally install Ubuntu 18.04 to test if it was ok. I started the install process of Ubuntu 22.04 Live Server on one of the machines (after the hard drive crashed during install so I had to restart the process).
There’s still a loooong road before it becomes a fully functional server.
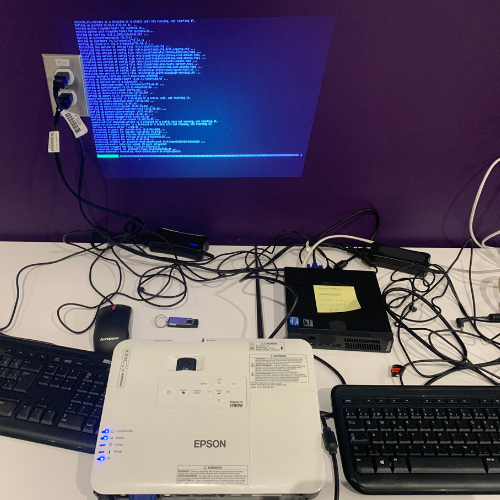
Installing and updating Ubuntu Server Live on the now up-to-date machines
So in conclusion/TLDR, we found out that the machines where not on the latest BIOS, thus not working correctly with UEFI. We updated them using a free, open-source alternative to MS-DOS, and we where finaly able to make Ubuntu install and boot on one of the machine, making a base for the new server.
So here’s all for today! Stay tuned for the continuation of this project!
Hash-AK